Water damage is one of the most stressful issues a property owner can face. Whether caused by burst pipes, flooding, or a leaky roof, water intrusion can quickly lead to structural damage, mold growth, and significant repair costs if not addressed promptly. One of the most vulnerable areas in a home or building during a water event is the walls. Acting fast is essential, and knowing how to properly dry out walls can help reduce long-term damage.
At PNW Restoration, we specialize in professional water damage restoration services throughout the Pacific Northwest. With years of experience, our certified team understands the science of moisture removal and uses advanced techniques to restore homes and businesses to pre-loss conditions. In this blog, we’ll share step-by-step guidance on how to dry out walls after water damage, whether you’re handling minor moisture issues yourself or working with experts like us.
Step 1: Identify the Source of Water Intrusion
Before you can effectively dry out any area, it’s crucial to identify and stop the source of water. This could be:
- A leaking pipe
- Flooding from outside
- Roof damage during a storm
- Overflow from appliances or fixtures
Fixing the source prevents further water from entering the affected area and is the first line of defense against extensive damage.
Step 2: Assess the Severity of the Damage
Once the water flow is stopped, assess the type and extent of the damage:
- Is the water clean, gray, or black? (This determines the contamination level and safety measures.)
- How deep has the water penetrated? (Use a moisture meter if available.)
- Are the walls made of drywall, plaster, or another material?
If the water damage is extensive, involves contamination (black water from sewage, for example), or affects multiple areas, call professionals like PNW Restoration immediately. DIY methods may not suffice in these situations, and the risk of hidden mold and structural problems increases.
Step 3: Remove Excess Water
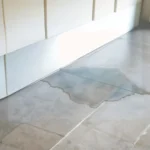
Use towels, mops, or a wet/dry vacuum to remove standing water around the base of the walls. This prevents additional moisture from seeping upward. If there’s water trapped behind the wall, professionals may need to perform flood cuts (removing a portion of the drywall) to access and dry hidden areas.
Step 4: Increase Air Circulation
Drying walls requires proper air movement. Here’s how to accelerate the process:
- Open windows and doors (if outdoor humidity is low)
- Use fans to circulate air around the affected area
- Position fans to blow across the surface of the wall
If you suspect that the inside of the walls are damp, position fans to blow directly into small holes drilled at the base of the wall to help ventilate the cavity.
Step 5: Use Dehumidifiers
Dehumidifiers pull moisture out of the air, preventing it from re-entering porous surfaces like drywall. This step is especially critical in enclosed areas and humid climates.
At PNW Restoration, we use industrial-grade dehumidifiers to rapidly reduce humidity levels and promote faster drying times. For homeowners using store-bought units, keep them running continuously in the affected space until moisture readings return to normal.
Step 6: Remove Damaged Materials (If Necessary)
If drywall is sagging, crumbling, or moldy, it needs to be removed and replaced. Baseboards and insulation may also need to be pulled out, especially if they have absorbed significant moisture.
When working with PNW Restoration, our team carefully evaluates which materials can be salvaged and which need replacement. This helps prevent unnecessary demolition and ensures your property is restored efficiently.
Step 7: Monitor Moisture Levels
Even after visible signs of moisture are gone, walls can still retain dampness. Use moisture meters to monitor the interior levels. For best results, take daily readings and track progress.
Professionals like those at PNW Restoration use thermal imaging and specialized meters to detect hidden moisture and confirm that drying goals are met before repairs begin.
Step 8: Sanitize and Prevent Mold Growth
Even if the water source was clean, bacteria and mold can start to develop within 24–48 hours. Apply antimicrobial treatments to affected areas to prevent contamination and odor.
PNW Restoration incorporates EPA-registered antimicrobial solutions during the drying process to ensure your space is clean and safe for reoccupation.
Step 9: Repair and Restore
Once the walls are dry and mold-free, it’s time to restore them. This could include:
- Replacing drywall or insulation
- Repainting
- Reinstalling baseboards or trim
Our team at PNW Restoration offers comprehensive repair and reconstruction services, making the restoration process as seamless as possible.
Trust the Experts at PNW Restoration
Drying out walls after water damage is a time-sensitive and detailed process. While minor incidents may be handled with DIY methods, significant damage requires professional equipment and expertise to ensure your property is safe and structurally sound.
At PNW Restoration, we’re proud to be a premier water damage restoration company serving the Pacific Northwest. Our certified technicians are available 24/7 and bring industry-leading knowledge, advanced drying equipment, and compassionate service to every job.
Don’t wait—call PNW Restoration today to protect your home or business from long-term water damage.
FAQ
What should I do immediately after water damage occurs?
The first step is to stop the water source, whether it’s turning off the water supply or addressing a leak. After that, remove any standing water and start drying the affected areas using towels, fans, and dehumidifiers. If the damage is extensive, it’s best to call a professional water damage restoration company like PNW Restoration for assistance.
Can I dry out my walls without professional help?
For minor water damage, you can try drying out the walls yourself by removing standing water, using fans, and setting up dehumidifiers. However, if the damage is extensive or involves contaminated water, it’s essential to call professionals like PNW Restoration to avoid further issues such as mold growth or structural damage.
How do I know if my walls are properly dry?
Use a moisture meter to check the moisture levels inside your walls. Professionals, like those at PNW Restoration, use advanced tools such as thermal imaging to detect hidden moisture. Walls should return to normal moisture levels before any restoration work, such as repainting or replacing drywall, is done.
How long does it take to dry out walls after water damage?
The time it takes to dry out walls depends on the extent of the damage, the materials involved, and environmental factors. Typically, it can take anywhere from 24 to 72 hours, but extensive damage may require a longer drying process. Professionals can speed up the process with specialized equipment and techniques.
Can water damage cause mold growth on my walls?
Yes, mold can begin to grow on wet surfaces within 24 to 48 hours if moisture is not properly addressed. Using dehumidifiers, fans, and antimicrobial treatments can help reduce the risk of mold. If mold does develop, contact professionals like PNW Restoration for safe and thorough mold remediation.
How can I prevent water damage in the future?
To prevent future water damage, regularly inspect your home for potential issues such as leaking pipes, damaged roofing, or clogged gutters. Install sump pumps or backflow prevention devices in flood-prone areas, and ensure proper sealing around windows and doors. If your property has already experienced water damage, ensure professional inspection and repairs to prevent recurring issues.
Will my insurance cover the cost of water damage restoration?
Most homeowner’s insurance policies cover water damage restoration, but coverage depends on the cause of the damage (e.g., burst pipes vs. flooding). Contact your insurance provider to confirm coverage and work with restoration professionals like PNW Restoration to document the damage for your claim.
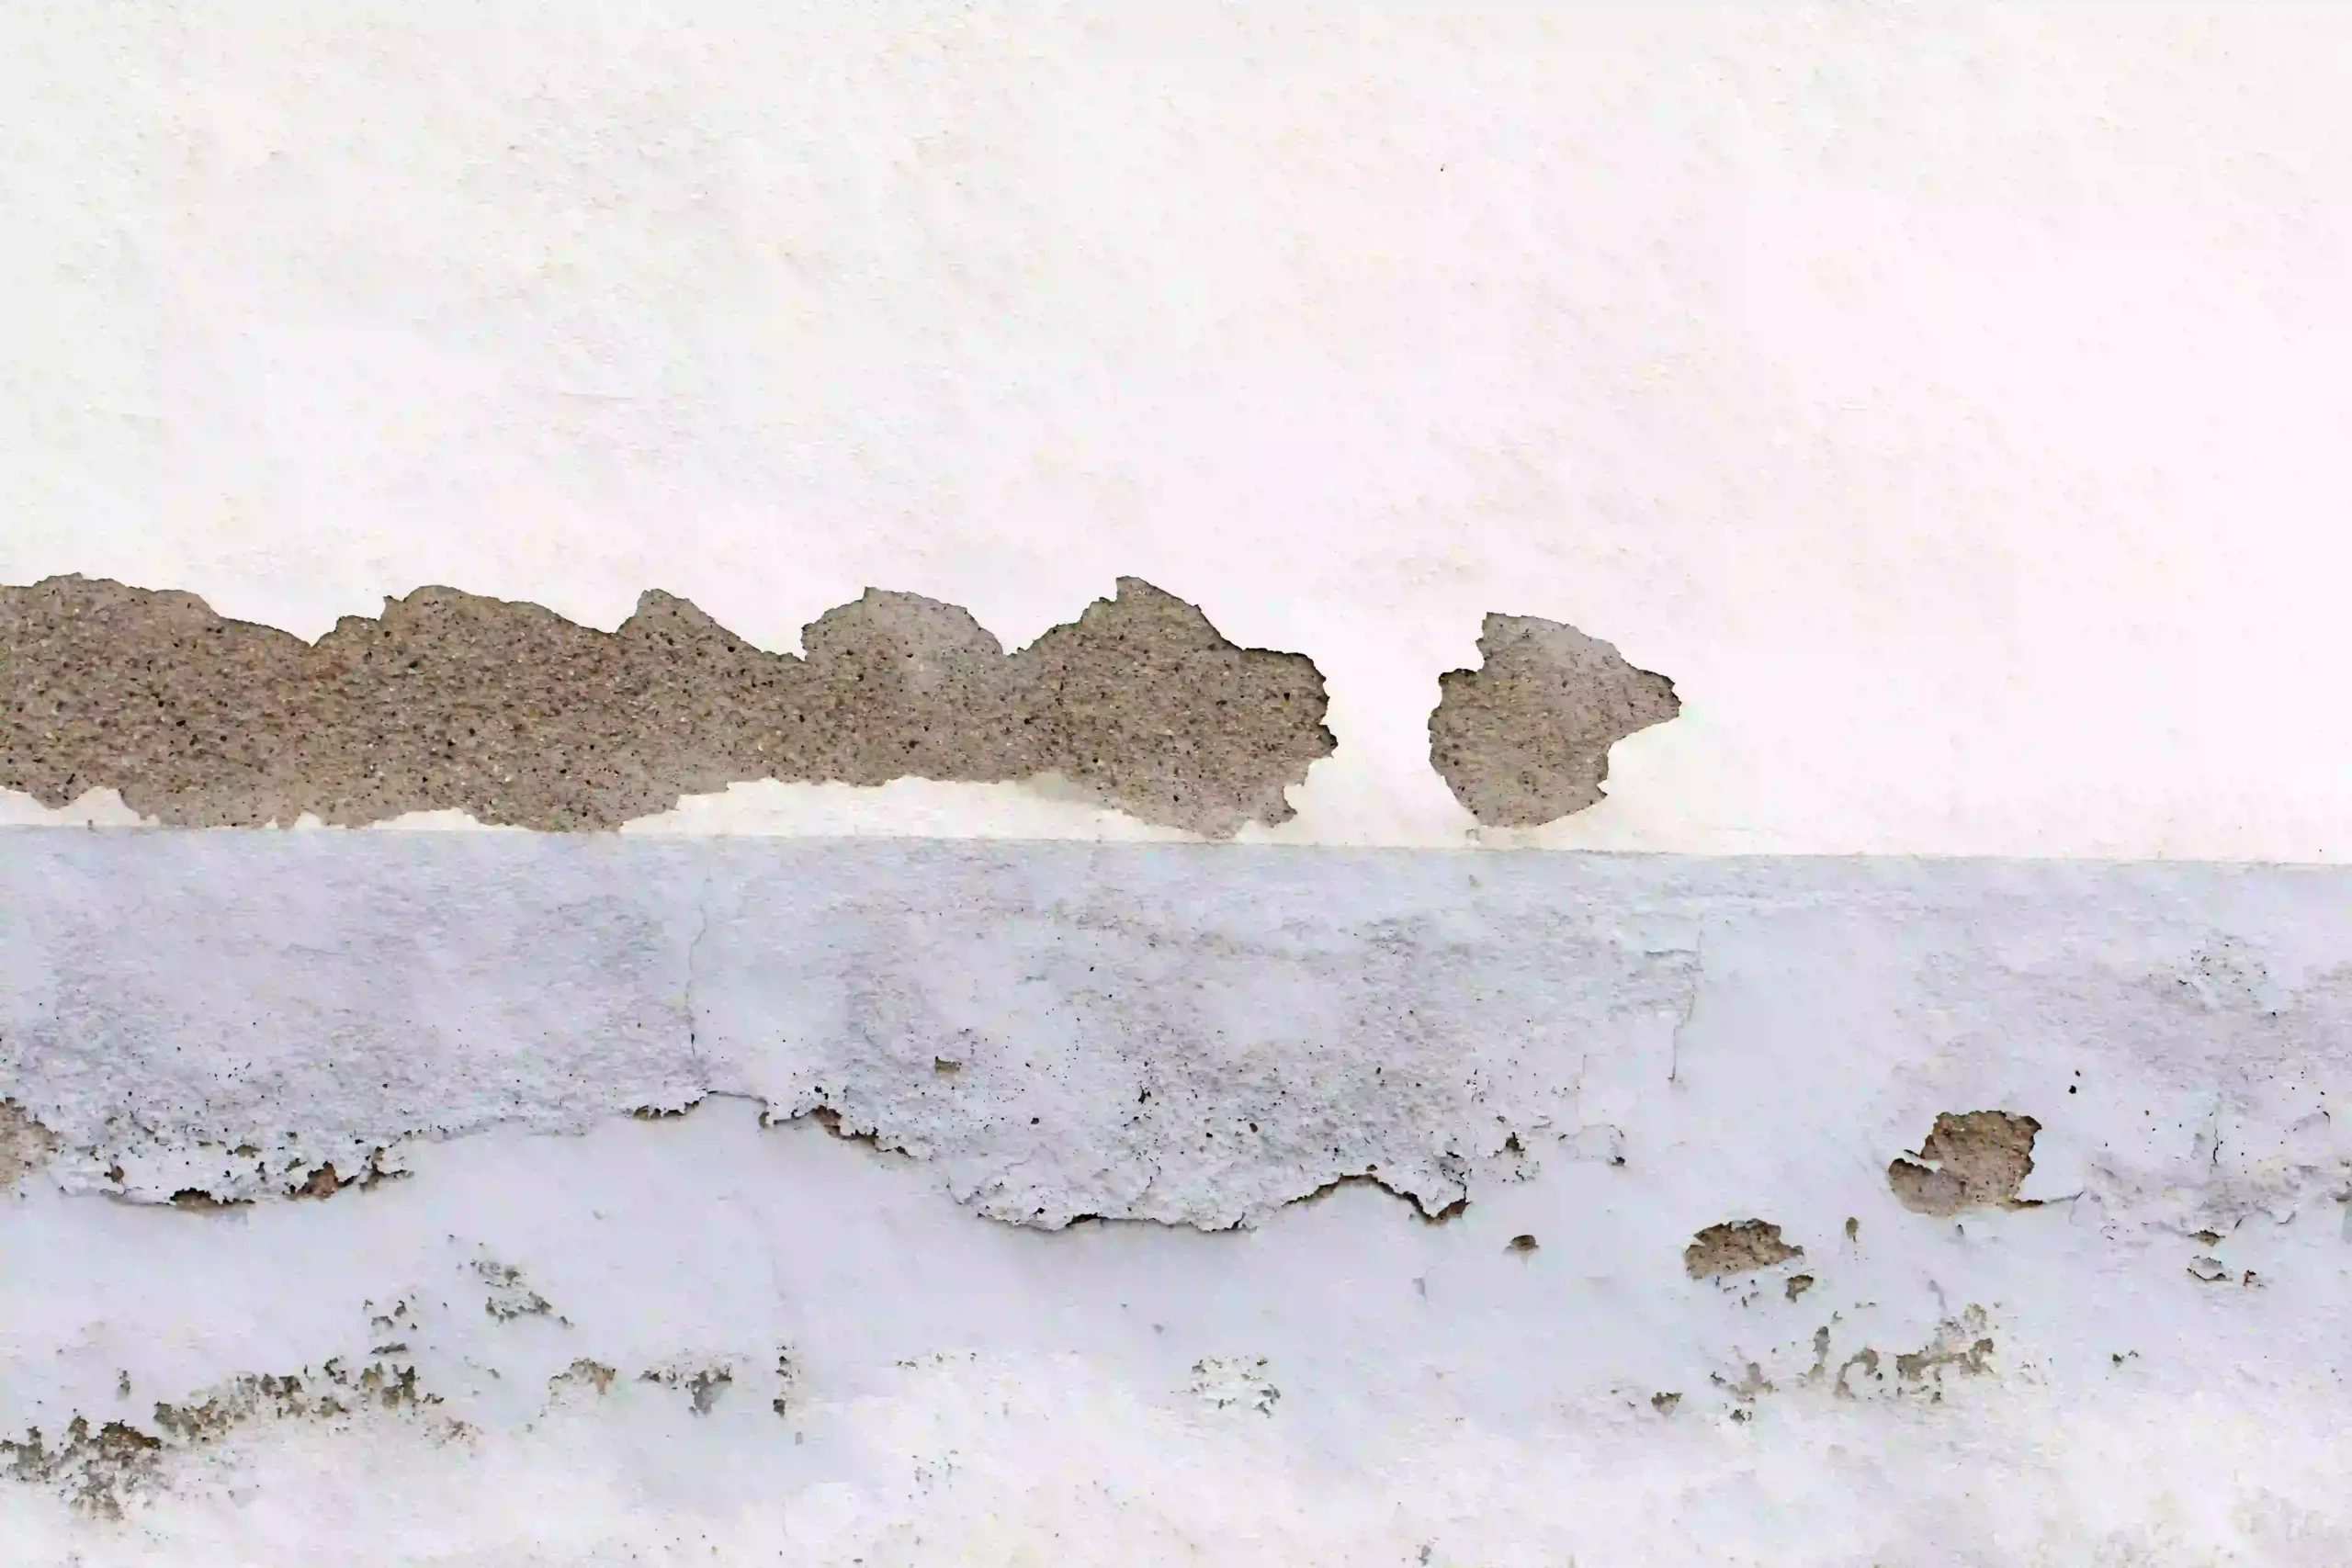
Can I just paint over wet walls after water damage?
No, it’s essential to ensure that walls are completely dry before painting. Painting over damp walls can trap moisture, leading to mold growth, peeling paint, or further damage. Be sure to let the walls dry completely and monitor the moisture levels before starting any repairs.
How can I tell if my drywall is too damaged to repair?
If drywall has absorbed significant water and is soft, sagging, or shows signs of mold, it’s likely too damaged to repair and should be replaced. A professional restoration company like PNW Restoration can evaluate the severity of the damage and provide recommendations for repair or replacement.
What are the risks of not drying out my walls properly after water damage?
Failure to dry out walls properly can lead to several issues, including mold growth, structural damage, and deterioration of materials like drywall and insulation. These problems can result in health hazards, higher repair costs, and even compromise the safety of your home. Calling a professional restoration company like PNW Restoration helps ensure that your property is thoroughly dried and restored.
Related posts:
![After Water Damage, Avoid the Mistakes That Make It Worse]()
After Water Damage, Avoid the Mistakes That Make It Worse
![signs of water damage under tile]()
How to Spot and Address Water Damage Under the Tile
![First signs of water damage on ceiling (1)]()
First Signs of Water Damage on Ceiling: What to Look For and How to Address It
![One of the most important water removal tips is to call a water damage restoration company to treat damage inside your Portland home.]()
5 Tips for Removing Water From Your Home
![Was your home damaged in a flood? Call a flood restoration company for help.]()
Water Damage vs. Flood Damage: What’s the Difference?
![Water Damage]()
The 24-Hour Timeline: PNW Emergency Water Damage Response
![How Much Does Water Damage Restoration Cost]()
How Much Does Water Damage Restoration Cost