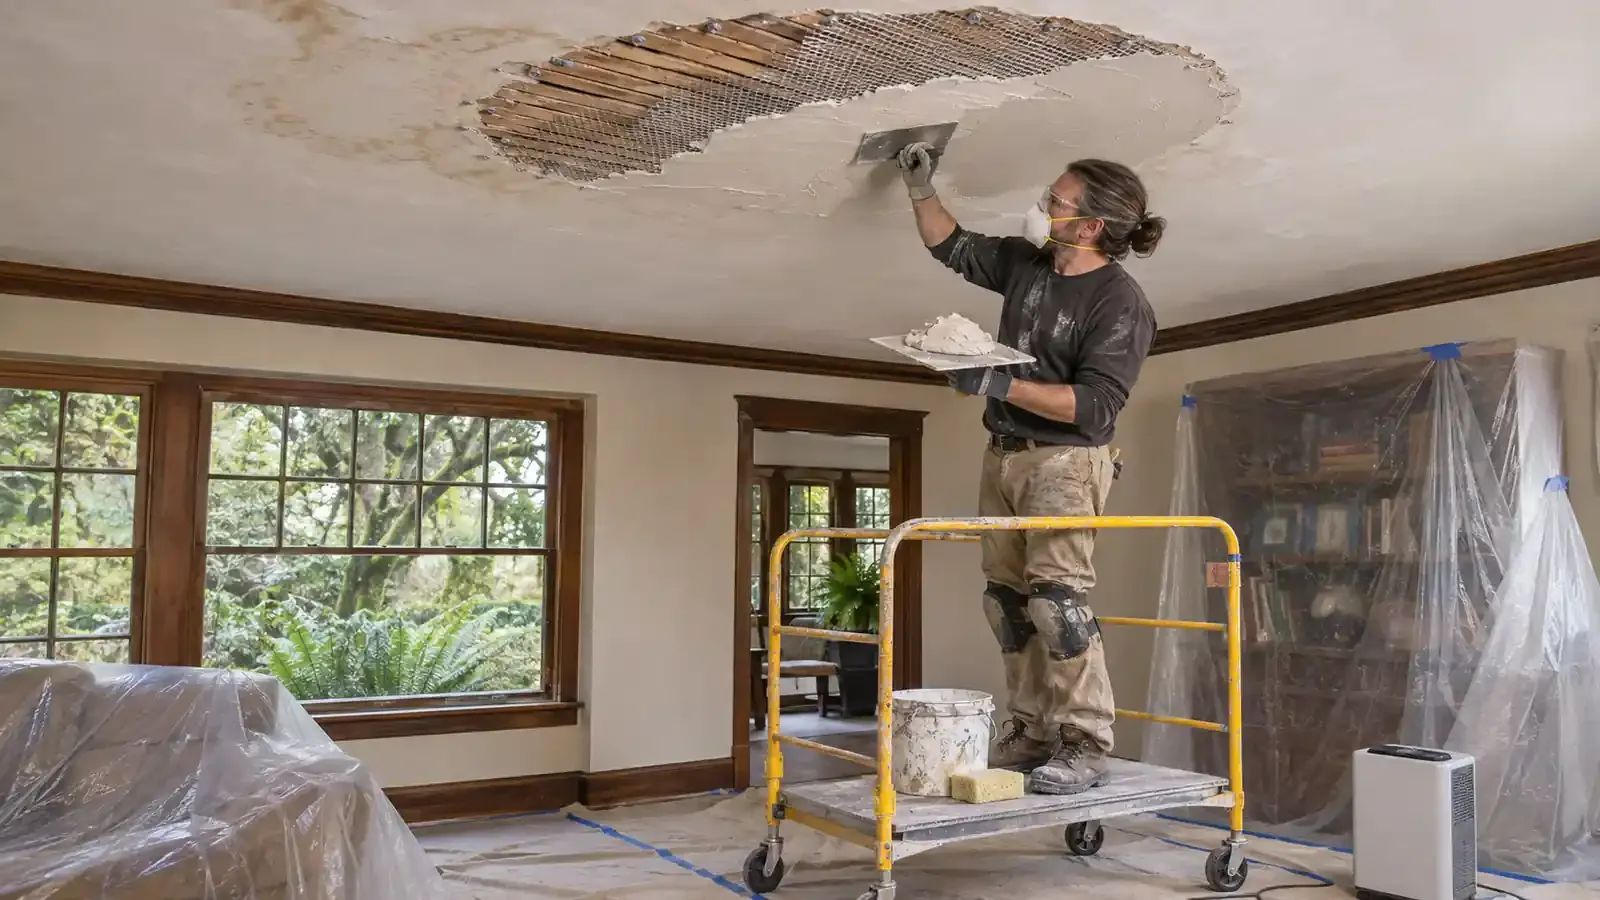


A holiday gathering can put the dishwasher, washing machine, and water heater through more cycles than an ordinary day. That extra use does not automatically cause a leak, but it can reveal a loose connection, worn seal, blocked drain path, or aging tank that had not produced an obvious symptom before.
Once the puddle is gone, the important question is not simply, “Is the floor dry?” It is, “Where could the water have traveled before I found it?” Effective appliance leak cleanup follows the water beyond the appliance footprint and checks the materials that received it.
The puddle is evidence, not the boundary
Water rarely stays where it first appears. It follows slope, seams, penetrations, and gaps, then soaks into materials that may have little airflow. A small visible puddle can therefore be the shallow end of a longer path under a cabinet or floor covering.
Use four questions to define the cleanup:
- Source: Did the water come from a pressurized supply line, the appliance tub, a drain hose, a relief valve, or the tank itself?
- Path: Could it run behind the unit, through a flooring seam, under a toe-kick, along a wall edge, or through a penetration to the level below?
- Receiver: Which materials took on water, including underlayment, subfloor, cabinet panels, drywall, insulation, carpet pad, or ceiling finishes?
- Access: Can those materials actually be inspected and dried, or does the appliance, flooring, cabinetry, or wall conceal them?
This source-path-receiver-access check prevents a common mistake: treating the amount you mopped up as the full extent of the loss.
Make the area safe before tracing the water
The first actions should limit additional water without creating an electrical, burn, or contamination hazard. Follow this order:
- Stop the appliance. Do not start another cycle to “see if it happens again.”
- Keep clear of electrical hazards. Do not touch a wet appliance, plug, outlet, or cord while standing in water. If water is near electrical equipment and you cannot reach the appropriate breaker without crossing a wet area, stay out and call for qualified help. Ready.gov advises turning off electricity only when it is safe to do so.
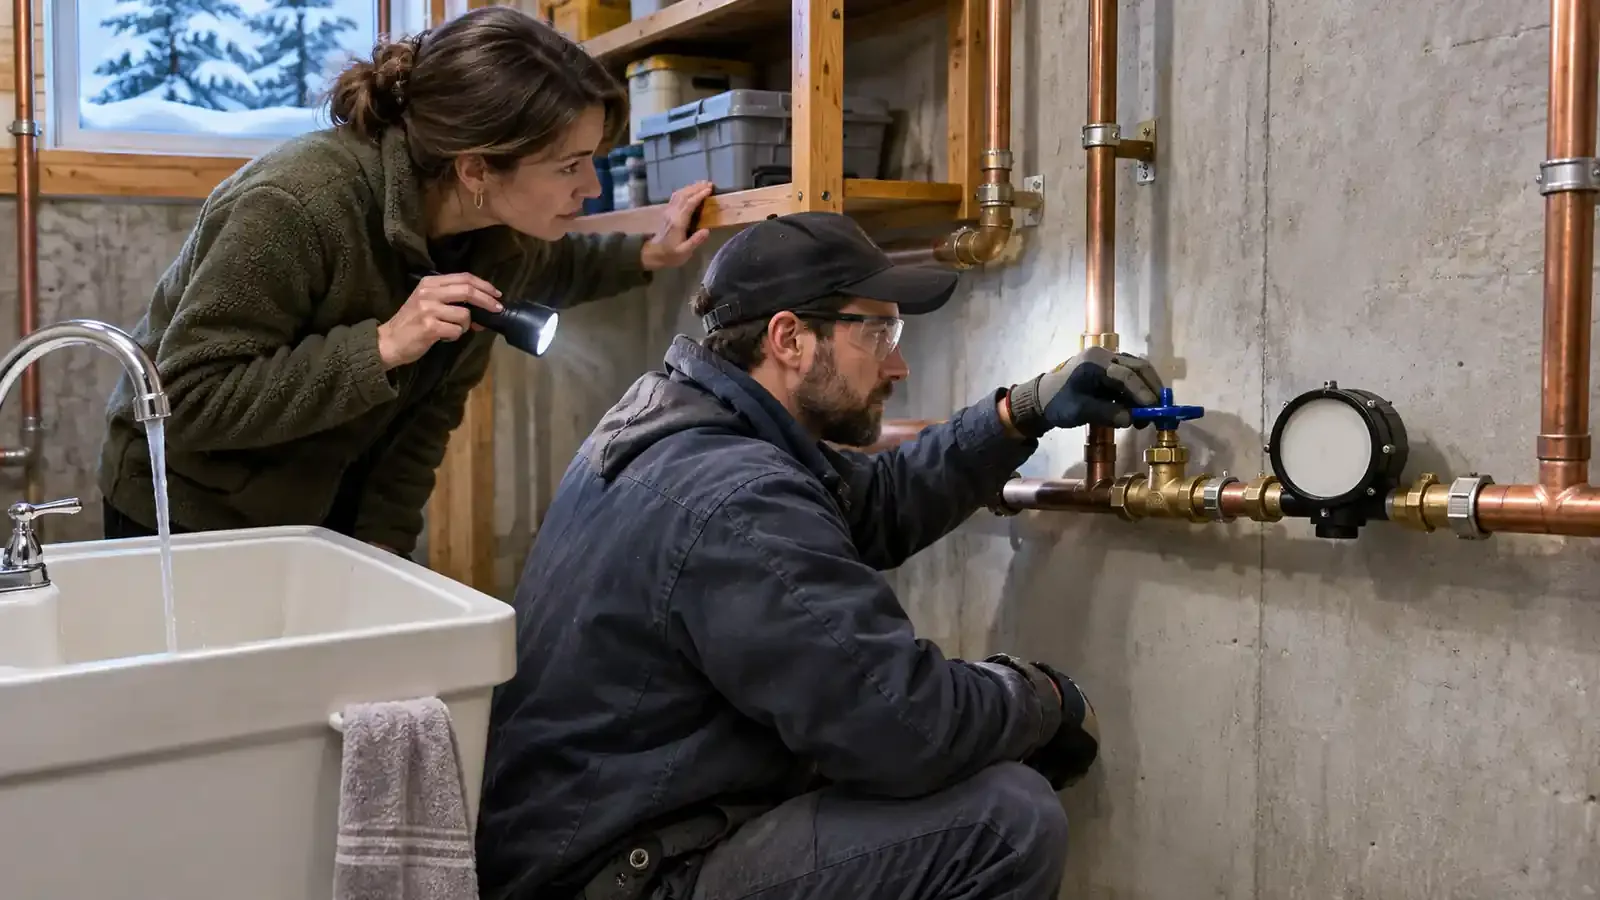
- Stop the water supply if you can do it safely. Use the appliance shutoff valve or the home’s main valve when the source is still feeding the leak. For a leaking water heater, follow the unit manufacturer’s instructions and use a qualified plumber or service technician when gas, electrical components, hot water, or a relief valve is involved.
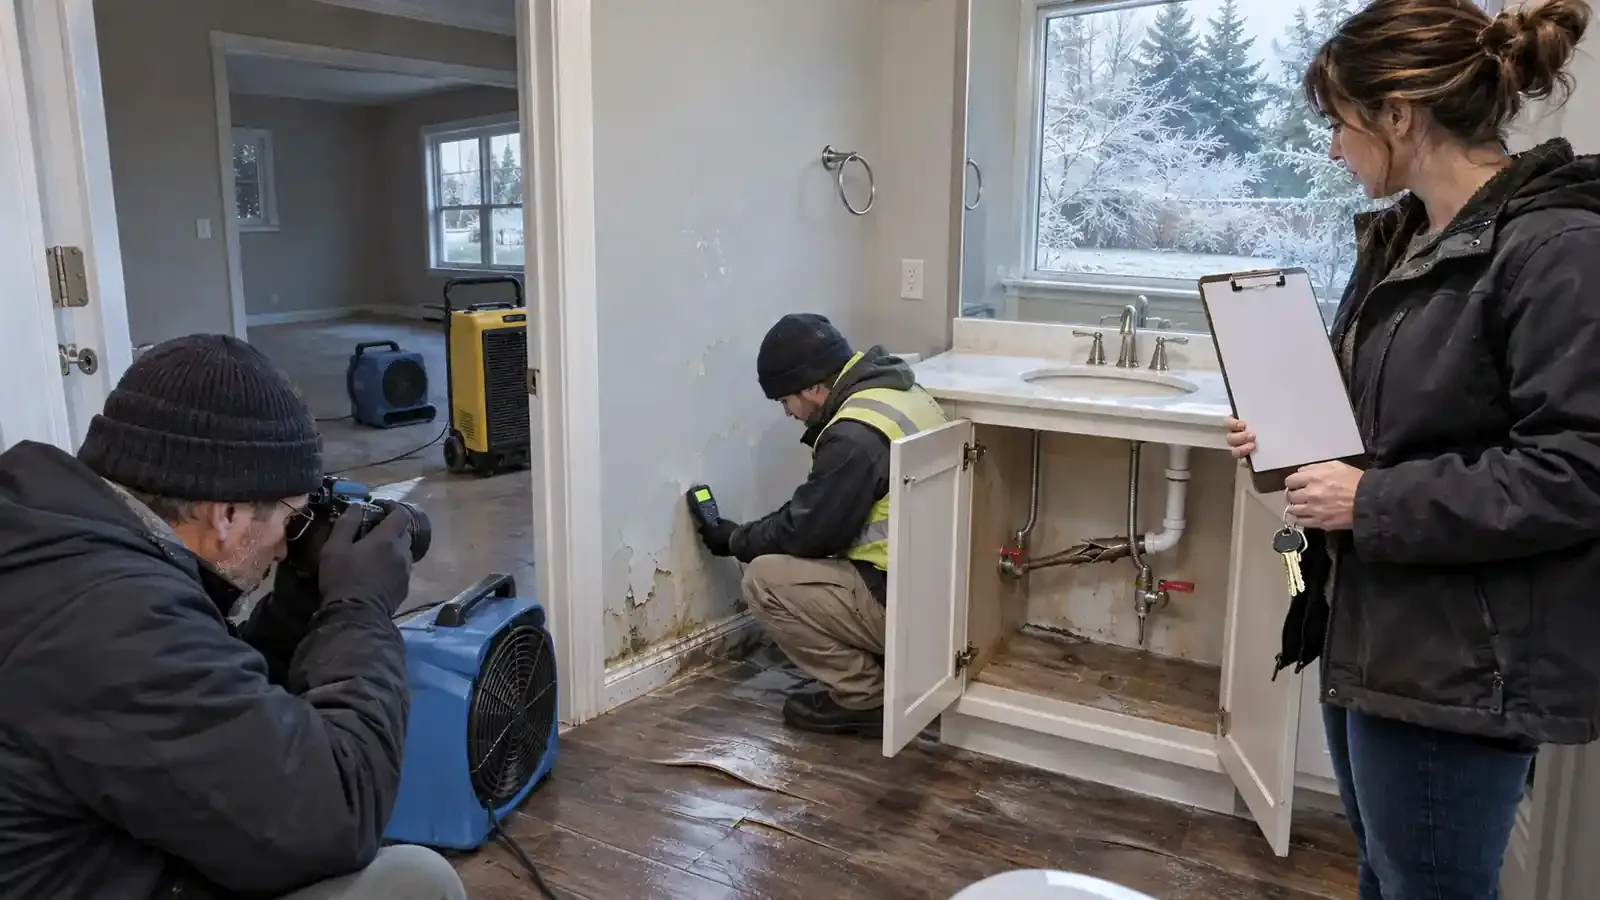
- Document the source and spread. Take wide and close photos before moving wet items or removing damaged material.
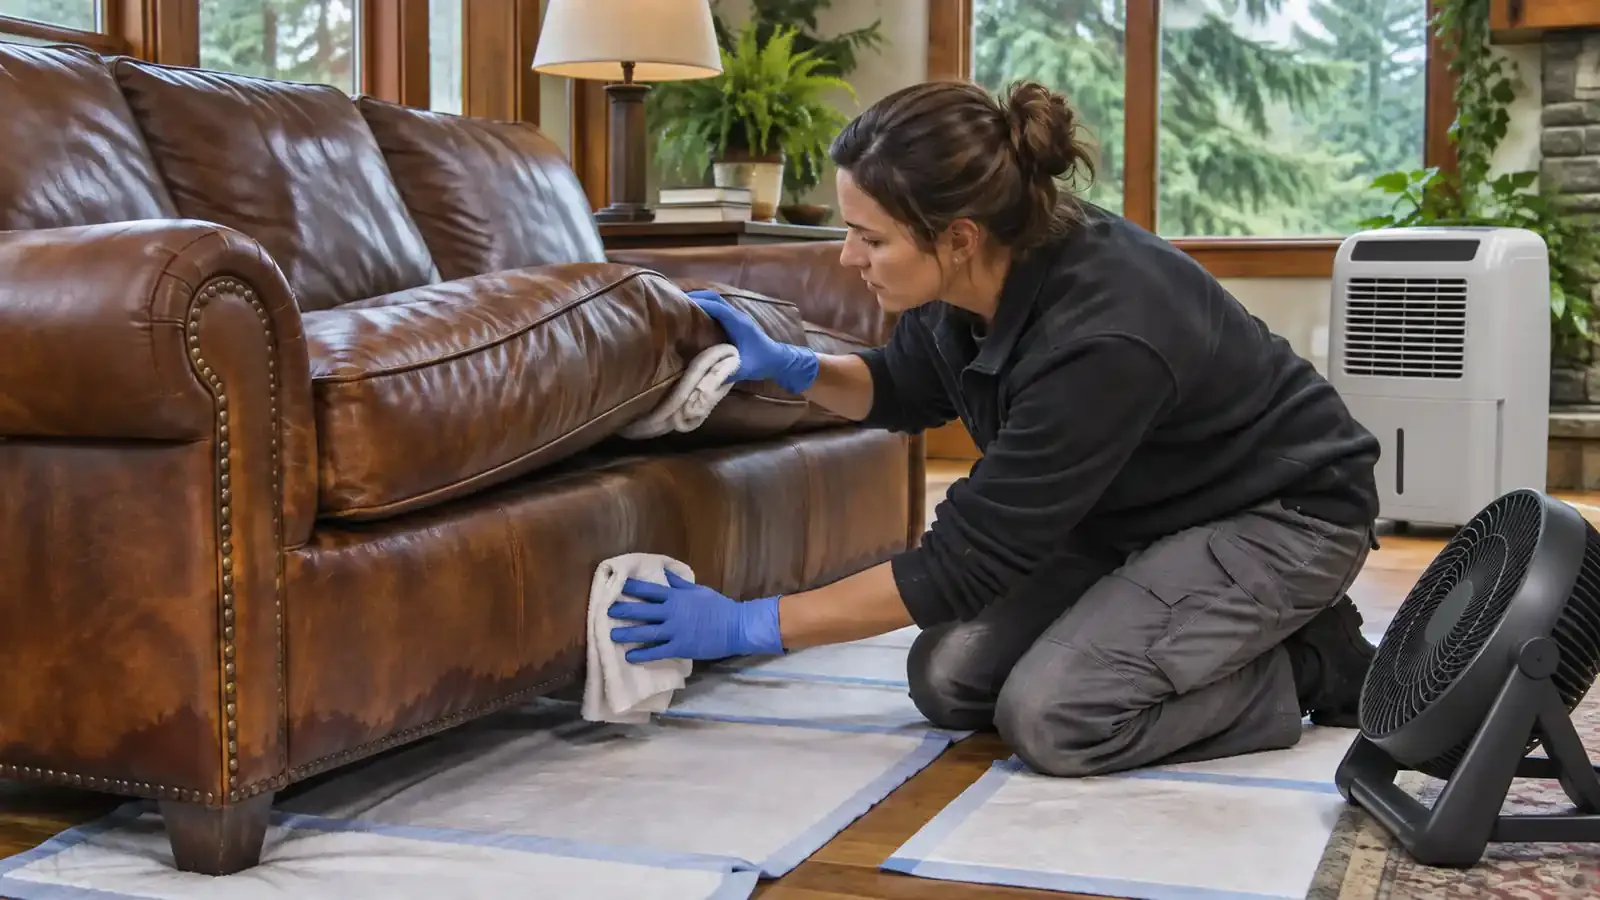
- Remove accessible surface water. Towels, a mop, or a properly rated wet vacuum may help with a small, clean-water spill when the area is electrically safe. Do not direct fans into an area until you know the water source is sanitary and visible mold or contamination is not being disturbed.
The water’s source matters. A fresh-water supply-line leak is not the same cleanup problem as dishwasher or washing-machine discharge containing detergent and soil. When the source is unclear, take the more cautious path until it is assessed.
Three appliances, three different escape routes
The appliance name does not tell you where to look. The leak point and the surrounding construction determine the likely path.
Dishwasher leaks disappear into the cabinet run
A dishwasher can leak at the door, supply connection, inlet valve, pump area, or drain hose. A front-edge leak may stay visible, but a connection or component leak beneath the tub can enter the recessed appliance bay. From there, water may pass under adjacent cabinet toe-kicks or under the finished floor.
Look for swelling or separation at cabinet ends, dampness under the sink where dishwasher lines connect, changes at flooring seams, and staining on the ceiling below.
Do not pull a hardwired or tightly fitted dishwasher simply to inspect it unless power and water have been safely isolated and you can move it without damaging lines or flooring.
A washing machine can release water faster than the room drains
A washing machine leak may come from a supply hose, drain hose, standpipe backup, pump, dispenser, or door seal. The timing offers a useful clue: leaks during filling suggest a supply or inlet problem, while water appearing during drain or spin points toward the drain path or pump area.
Laundry rooms often give water several exits. It can run through the wall gap around supply and drain connections, beneath baseboards, under floating flooring, into carpet pad outside the room, or through the floor assembly.
A washing machine overflow cleanup is incomplete if the visible floor dries but the wall edge or room below remains wet.
A water heater leak may not begin at the tank bottom
Water around a heater can come from supply connections, a drain valve, the temperature-and-pressure relief system, condensation, another nearby pipe, or a failing tank. Manufacturer guidance emphasizes checking the possible source rather than assuming every puddle means the tank has ruptured.
Treat hot water, gas, and electrical components as separate hazards. Do not cap or obstruct a relief-valve discharge, open access panels, or move the unit to investigate.
Water heater leak cleanup should also include the drain pan, nearby wall base, flooring, and any ceiling or crawlspace below. A plumber or authorized service technician diagnoses the equipment; drying and material decisions address the building around it.
Check each receiver for a different kind of damage
Surface appearance alone cannot confirm that an assembly is dry. The U.S. Environmental Protection Agency specifically advises checking underflooring after water affects resilient or hard-surface flooring and drying that layer when necessary.
| Receiver | Clues water crossed the surface | Why the visible surface can mislead | Practical next decision |
| Finished flooring and underlayment | Raised seams, cupping, edge darkening, loosened adhesive, soft movement, or water emerging when stepped on | A water-resistant wear layer can slow evaporation from material below | Determine whether the underside and subfloor are accessible for inspection and drying |
| Subfloor or slab | Staining below, damp fasteners, a musty odor, or elevated moisture readings compared with a dry area | Water can spread laterally beyond the appliance footprint | Map the affected boundary before replacing or covering finishes |
| Cabinet bases and toe-kick voids | Swelling, peeling laminate, softened panels, staining, or odor | Composite panels can absorb water at cut edges while the cabinet face looks normal | Open only the access needed to evaluate and dry the concealed base |
| Drywall, baseboards, and insulation | Loose trim, soft gypsum, staining, bubbling paint, or dampness in the room below | Paper facings and cavity insulation may remain wet after the room-side surface dries | Decide whether the cavity can dry in place or needs controlled access and material removal |
| Receiver | Clues water crossed the surface | Why the visible surface can mislead | Practical next decision |
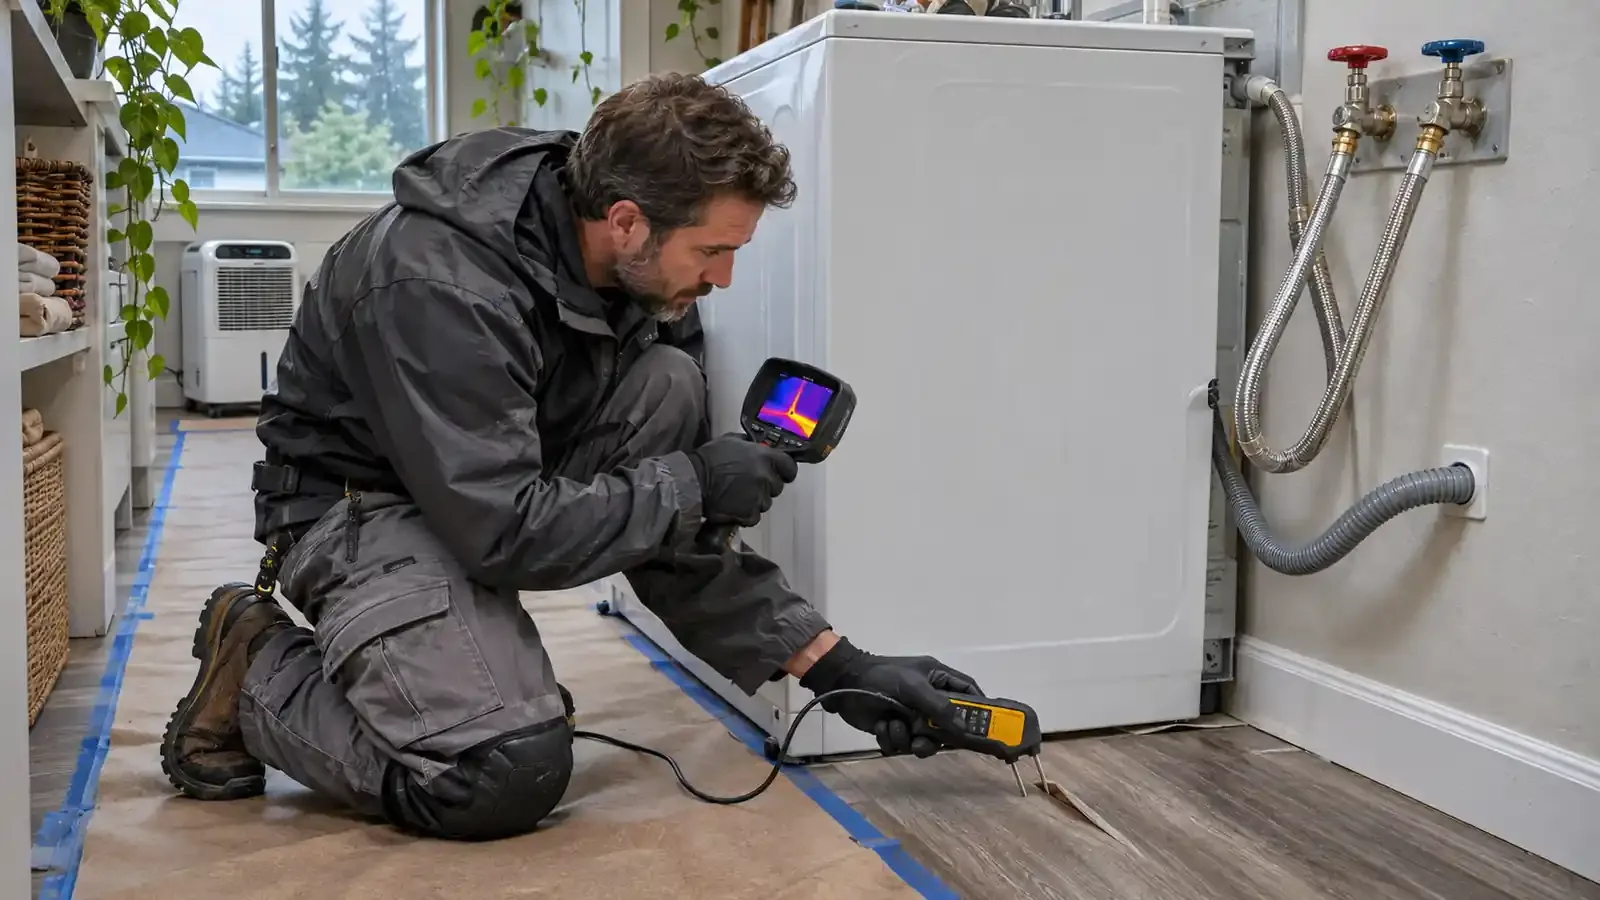
A moisture meter can help compare suspect material with a known-dry area, but the reading must be interpreted for the material and meter type. Infrared images can indicate temperature patterns, not prove moisture by themselves. Neither tool replaces direct inspection when water is trapped behind a finish.
When surface cleanup is enough, and when it is not
A limited homeowner cleanup may be reasonable when every one of these conditions is true:
- The source was a small amount of fresh supply water.
- The water was stopped and found promptly.
- It remained on an accessible, nonabsorbent surface.
- It did not reach seams, wall edges, cabinets, carpet, underlayment, or the level below.
- There is no electrical, gas, hot-water, mold, or contamination concern.
- You can inspect the entire affected area and confirm that it is drying.
Professional assessment becomes the more reliable choice when any of these conditions apply:
- Water entered beneath fixed cabinets, a built-in appliance, flooring, baseboards, or a wall cavity.
- The leak reached carpet pad, insulation, composite cabinet panels, drywall, or a ceiling below.
- Dishwasher or washer discharge escaped, the water source is uncertain, or the area has an odor or visible growth.
- Materials remain damp, show swelling or delamination, or cannot be exposed to airflow.
- You do not know how long the leak continued or where its boundary ends.
EPA guidance uses 24 to 48 hours as an important drying target for wet materials, not as a promise that everything is safe until a timer expires. Material, temperature, airflow, cleanliness, and access all affect the outcome.
If the path or drying boundary is uncertain, call us at PNW Restoration Services at (503) 352-5209 for help assessing appliance-related water damage. A focused assessment can clarify whether the job is limited to accessible cleanup or requires concealed drying and selective removal.
Heavy use is a useful clue, not the diagnosis
Several back-to-back cycles can make an intermittent problem easier to observe. The useful clue is when the water appears:
- While filling: Inspect visible supply connections and valves, following the appliance manual.
- During washing or agitation: Suspect a door seal, tub, dispenser, internal hose, pump, or oversudsing issue.
- During draining or spinning: Look toward the drain hose, standpipe, sink or disposal connection, air gap, or pump path.
- Between cycles: Consider a pressurized supply connection, slow valve leak, condensation, relief discharge, or another nearby plumbing source.
These patterns help an appliance technician or plumber narrow the equipment problem. They do not define how far the escaped water traveled, which still requires a separate building-material check.
Prevention works best when it addresses both failure and discovery. Inspect visible hoses, valves, and connections for dampness, corrosion, cracking, bulging, or looseness, and follow the manufacturer’s replacement and maintenance instructions.
Run high-demand appliances while someone is home, and investigate unexplained water use rather than waiting for a visible puddle.
Place leak sensors where escaped water is likely to collect, not merely where they are easiest to see. Useful locations may include the dishwasher bay or adjacent sink cabinet, behind the washer, and beside the water heater drain pan. The EPA WaterSense leak-detection guide explains that some devices provide local or phone alerts, while compatible systems can activate a shutoff valve.
The cleanup is finished when the source is corrected, the water path is traced, affected receivers are dry or appropriately removed, and the access points can be closed without trapping moisture. A missing puddle is only the first checkpoint.
Frequently Asked Questions
Can I run the dishwasher or washer again after mopping up the water?
Wait until the leak source has been identified and corrected. Another cycle can add water to a concealed space and make it harder to distinguish old moisture from a new release. Follow the appliance manual or use a qualified appliance technician or plumber for diagnosis.
How can I tell whether water is under my flooring?
Watch for lifted or darkened seams, cupping, soft movement, loosened adhesive, new sounds underfoot, or water appearing at an edge when pressure is applied. These signs justify further inspection, but their absence does not prove the underlayment or subfloor is dry.
Is water from a dishwasher or washing machine considered clean?
The point of release matters. Water from a fresh supply connection differs from discharge water that has contacted detergent, food soil, clothing soil, or the appliance interior. If you cannot identify the source, avoid assuming it is sanitary and seek an appropriate assessment before using fans or handling saturated porous materials.
Do I need to pull the appliance out to dry behind it?
Not automatically. Moving a built-in, hardwired, gas-connected, or water-filled appliance can damage connections or expose you to electrical, gas, burn, or lifting hazards. Isolate utilities according to the manufacturer’s instructions and use qualified help when the unit cannot be moved safely.
Does waterproof flooring prevent hidden water damage?
Not necessarily. A flooring product may resist water at its surface while seams, perimeter gaps, transitions, or penetrations allow water to reach the underlayment or subfloor. The whole floor assembly, not only the wear layer, determines whether water can be trapped.
How quickly can mold become a concern after an appliance leak?
EPA guidance recommends drying wet materials within 24 to 48 hours when possible to help prevent mold growth. That range is a response target, not a guaranteed start time. Address wet porous materials promptly, especially when moisture is concealed or airflow is limited.
Who fixes the appliance, and who handles the water damage?
An appliance technician or plumber generally diagnoses and repairs the equipment or plumbing source. A water-damage professional evaluates the spread, drying conditions, and affected building materials. Flooring, cabinet, drywall, or reconstruction work should follow only after the moisture problem has been resolved.
What should I document for a possible insurance claim?
Photograph the leak source, standing water, affected rooms, appliance model information, damaged materials, and any spread to the level below. Keep invoices and a timeline of discovery and mitigation. Coverage and notice requirements depend on the policy, so contact the insurer for instructions rather than assuming a loss is covered.